Oh, cookie decorating—the ultimate combo of fun and creativity. When you’re sprucing up a Christmas cookie assortment for the neighbors or prepping for a holiday party, it’s the right decorations that make all the difference.
But before the fun begins, let’s talk about your canvas: the cookie itself. Choosing a great recipe that holds its shape is key to showing off your designs. Look for a well-reviewed one online or hit up your baking whiz friends. For extra precise and easy cutting, refrigerate the dough first.
We’ve got a technique for everyone—kids, aspiring artists, and minimalists alike. Let’s dive in.

(Daisy Anderson/pexels)
1. Cookie Painting
If you want to give out colorful cookies without the hassle or mess of making frosting, cookie painting may be the method for you.
Here’s how to make your paints:
- Whisk two egg whites and a bit of water in a bowl until they’re mixed together.
- Split the mixture between as many cups as you want colors of cookie paint.
- Add your preferred food coloring to each cup and stir together well.
- Paint raw cookie dough using paintbrushes, sponges, or toothpicks.
- Bake as the sugar cookie recipe instructs and enjoy!
This method provides a hands-on decorating session for kids that won’t leave you needing to deep clean your kitchen or get everyone in the shower afterward. And just think how creative the kids can get by mixing colors or adding sprinkles to their painted designs.
Pro tip: Paint the lighter colors onto the dough first and then add darker tones for more depth.
2. Glacé Icing
You’ve probably seen awe-inspiring videos of people decorating with glacé icing on your social media feeds. You know those sugar cookies with the smooth and sleek icing tops that shine like mirrors? That’s glacé icing, and—spoiler alert—it’s super easy to do yourself.
Glacé icing is pretty much the simplest icing you could make. It’s just powdered sugar, water, and whatever food coloring (or natural dye) you want.
As for consistency, the icing should just about run right off your whisk. The thinness is actually ideal for drizzling and flooding. When you decorate with glacé icing, you might experiment with the wet-on-wet or wet-on-dry method, depending on the look you’re going for. We know this is starting to sound like an art class but trust us—it’s surprisingly easy.
- Wet-on-wet: Try mixing colorful designs with marbling or fishtailing. Use a toothpick to drag colors around in patterns or randomly.
- Wet-on-dry: Pipe a layer as the base and let it set for a few hours. Then, add more layers on top for more intricate designs.
Glacé icing might just be a game-changer for your decorating routine. It’s easy, beautiful, and convenient, especially because the firm icing makes the cookies easily stable and packageable for no-mess delivery to the neighbors.
You should know that glacé icing does take most of the day or overnight to dry, so don’t plan on delivering any goodies 10 minutes after you decorate them.
3. Marble the Dough
Now, this might be a new one, so hold onto your seat. If you’re just in it for the soft and sweet cookie and couldn’t care less about the icing part, we don’t blame you. But don’t think that just because you don’t want to frost them, you can’t put out some stunning creations. Marbling the cookie dough is the way to go.
To marble your dough, make two contrasting doughs, like vanilla and chocolate. (Or you could just dye the same dough with two contrasting colors.) Pull apart chunks of each and smush them together. Once you roll out your Frankenstein dough, you’ll see a charming marbled effect.
This is especially useful because you can choose colors to match any event’s theme. Think red and green for Christmas, pastels for an Easter care package, or even pink and blue for a gender reveal party—simple and practical.
Just be careful not to over-mix the dough or roll it out too many times. If you do, the colors will blend, and you might end up giving the neighbors murky greenish-brownish cookies—yikes.
Bonus: Dipping and Stenciling
If you’re on the no-frosting train, you could also try using chocolate instead. This one’s great for the baker who might lack those coveted piping skills. Don’t worry—we’ve got you covered.
Try dipping half the cookie into chocolate for a super stylish two-tone look. You could also use white chocolate or colorful candy melts for a more vibrant look. A drizzle of chocolate or a sprinkle of crushed-up candies can add that touch of elegance for some extra gourmet Christmas cookies.
You could even use a DIY stencil—just cut a star, heart, etc. out of paper. Then, set the stencil on top of each cookie and dust it with powdered sugar, cocoa powder, or edible glitter to make a fun shape.
Wrapping It Up
As you finish up your cookie decorating adventure, remember to make sure your cookies are fully cooled before you decorate them to avoid any melty messes. Baking cookies the day before gives you all the time you want to focus on the fun part—decorating.
Don’t be afraid to experiment with different methods to make each cookie unique—icing, sprinkles, chocolate, or something else. Cookie decorating is really all about having fun when it comes down to it, so embrace the process and enjoy making those goodie platters look extra special and ready for holiday cookie delivery. Happy decorating!
Video
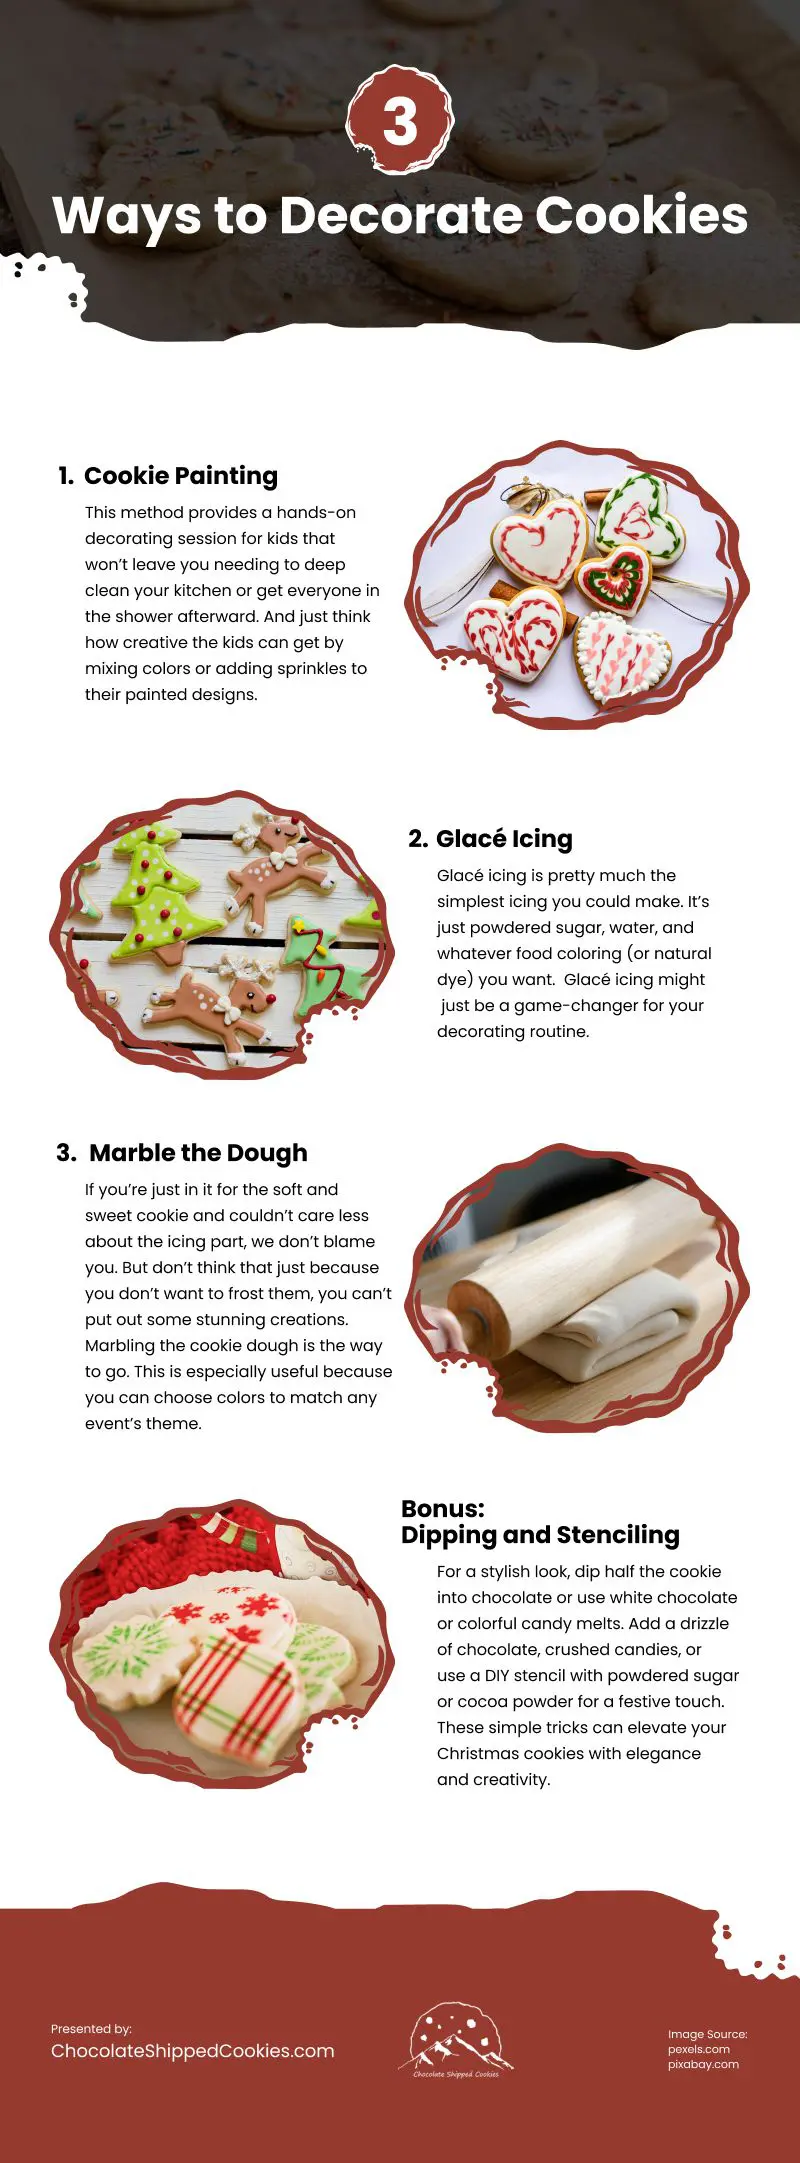
Infographic
Cookie decorating is a fun, creative way to celebrate the holidays. Whether for neighbors or parties, the right decorations make an impact. Discover this infographic for three decorating ideas.


